I like them, tips, blending the images makes the quality of the banner sig etc so much better, so all the hard edges, you don't want to keep, I can make a tutorial for you
it makes the images look cooler and neater as well. Same with the adding of text (cool text?) same thing get rid of the edges, and you want to match colors that is important, if your text's background is blue try to match it with a blue in the image, or try to get rid of the color, again these are tips, I'm not a pro, but it's stuff I've learned from trial and error, and what people like and want.
Okay what system are you using? or is it an online one? (I know my way around online ones than PS or GIMP) All my sigs have been from two online photo editing sites:
Phixr.com
Ipiccy.com
I use both to make the pretty sigs because both offer different things and one is better for the other than the other etc. (if that makes sense)
Phixr is good for pretty much just blending your pictures and getting it how you want it to look, its amazing what adding different lights, colors and textures do to make a banner pop. (I wouldn't use text or the filters on phixr Ipiccy is better for that)
Ipiccy, is good for text and filters and adding texture and all the nitpicky stuff, and you can crop and resize there too. I do not recommend trying to blend on Ipiccy, it doesn't work..
This is a two step process it takes practice and trial and error, patience is key, and DO NOT rush the banner, the more time you take the better it looks (Until you get the hang of it, it use to take me 1-2 hrs now it takes like 5-10 min)
Step 1:
Get two GOOD quality pictures, no grainy it will not look good if it's grainy or blurred, and upload them to Phixr, take your background image, which can be a place, or a plain color background, or texture background or the actor/actress etc.
(I would recommend that the background image is at least 700x390(400) or bigger) (it resize's it for you if its too big but you have more to work with and then when you resize it for a banner it doesn't get grainy or blurry)
(700x393)
Step 2:
then you get a smaller or the same size picture (nothing smaller than 500x300 again for quality reasons) then you click the cross looking button,
after you click that a pop up window will come up, it will show your background twice, one where you perform the edit the other what it will look like edited, below it shows your background image and your second image (1st layer) in which you can edit onto the background, click the layer 1, it will pop up over the background image now, you can resize it using the side boxes that pop up, or leave it as, if you hit the elliptical button in the corner of the pop up window, it will make a circle or an oval of your layer, then hit feather, if you go back and forth it gives you options of 0-100% transparency, this is how you blend an image.
If you don't like the way it looks you can press the back button and do it to your liking, now the more creative part (Ipiccy) So save, go to the bottom save as JPEG, quality 100% and then hit save and save it as what ever.
Step 1: Part one is now done. Now for part two, go to ipiccy.com click start editing, and upload your blended picture,
(Don't resize until the very end) now you can use any filter you want, but make sure your text matches (the colors and what not you want to make it a theme of colors) the same as the feather you can choose how much you use of the filter where it says fade, also if you click the paint brush at the bottom you can press revert mask and then you can apply the filter to what ever part of the picture you want.
Usually I use more than one filter, and then a texture or what ever depending on what was wanted or what I feel looks nice. After you've done your filters press the layer button and that is where you do your text, choose what ever text you please and when your done go back to the camera button and you can resize it/crop it to fit your needs then hit the floppy disk to save it always save at 100% quality, and JPEG file (On ipiccy it automatically saves as jpeg)'
and that concludes our tutorial. Any questions please ask!
gimps a pain in the ass, so is PS lol. But the online ones I showed you are good tools until you learn how to properly use actual editing systems like PS, GIMP etc.
pssst. photoshop's not actually that much of a pain in the ass. I find it easier to use than a lot of the online ones only because here's more options for what you can do with your images. The other thing if you wanna learn little tips and techniques and stuff is to snoop through shadowplay or caution, or whatever resource site you want that their tutorials. That's where I learned a lot.
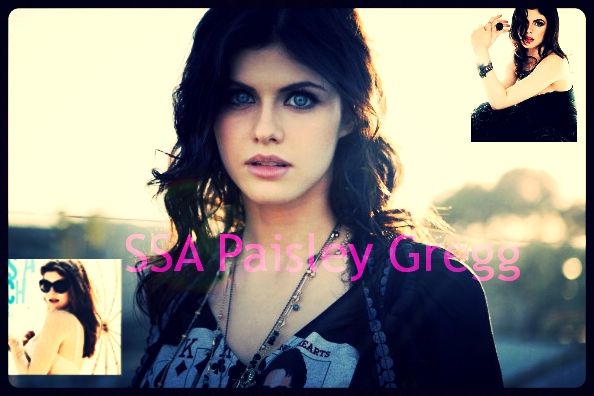
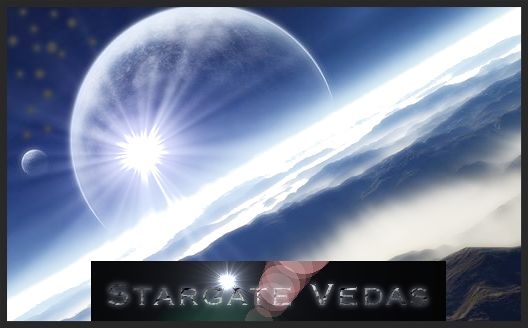
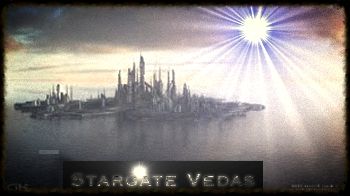
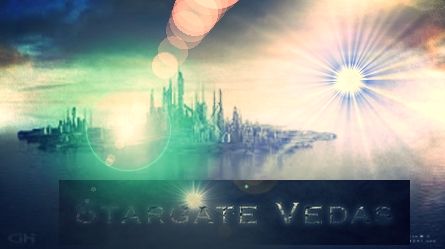
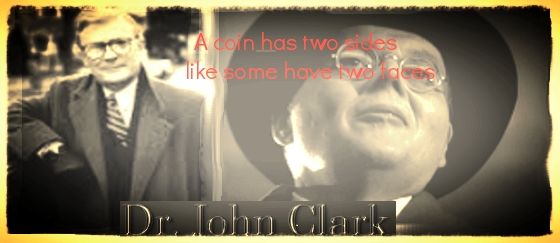
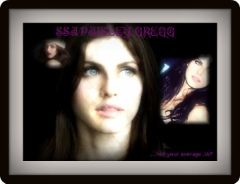
Really it just depends on the look of what your going for. Personally I think the way the images are set up, they have to match what the character is like, or what they like, or whatever. But that's personal choice.
I've made all of these in PS, and it 's usually just done in layers, with some texture, or just playing with the adjustments and shit like that. Generally, a good idea is to try and stick with photos from the same shoot, they will have the same kind of colouring usually and that help with the blending. I mean you can adjust them somewhat if the pics are from different shoots, but sometimes thats more work than its worth.
As for text and stuff, you kind of want to avoid covering faces with it, it gets distracting, but you want it to pop out enough that you can tell it's part of the pic..
If you want, when i make something next ,I'll try and make a tutorial of what i do?
A good online editor I've found lately is pixlr it seems to have some pretty good options and adjustments available, if you'd rather not use PS or GIMP. [though i have seen some pretty awesome stuff come out of gimp so idk]